
[God Save Birmingham]
How to Play Co-Op
Table of Contents
Overview
God Save Birmingham’s co-op currently requires one person to host the dedicated server using the separate server app. Other players can join the server as long as the host keeps it running. The host is not required to be in the server.
Due to the dedicated server configuration, setting up a server needs some setup on the host’s end.
In all cases, please make sure you allow the game and the dedicated server app through the firewall.


Joining Someone Else’s Server
Joining someone else’s server only requires you to run the game–there is no need to change any network settings or run the server app. You can join a server in 2 different ways.
Using the Lobby List
Depending on the setup, the server may show in the game’s lobby list. In this case, you can join directly from the list.
 If the room is password-protected, you must enter the correct password to join.

 Using the Host’s IP Address
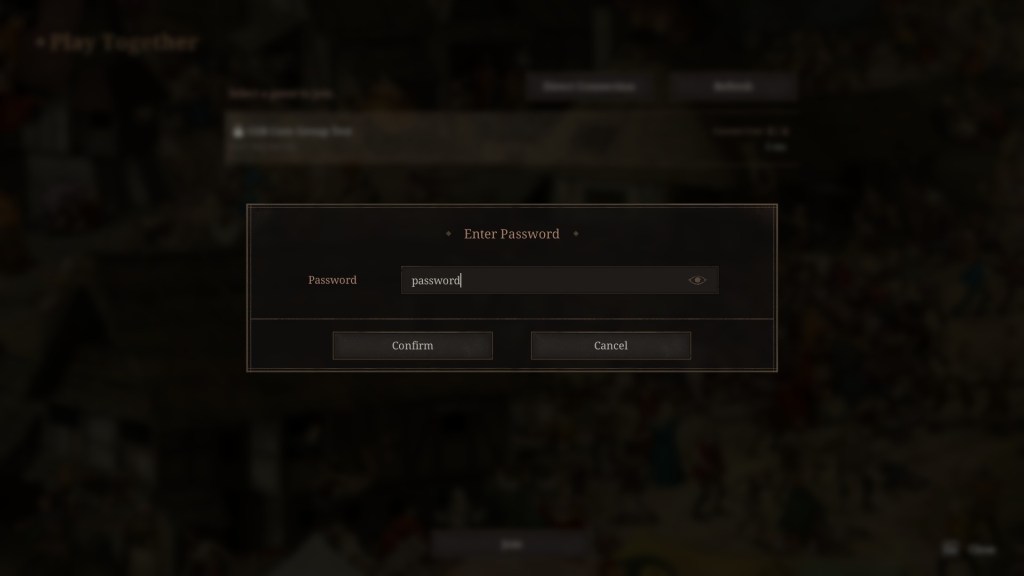
If you have the host server’s public IP address, you can also join directly.
Click Direct Connection and enter the host server’s public IP address followed by the port (:7777). The format would be: XXX.XXX.XXX.XXX:7777.
If the room is password-protected, you must enter the correct password to join.
To host a co-op server, you must download the separate dedicated server app. The dedicated server app is a tool app that is automatically downloaded when you redeem your Steam key.
If you want to host the server and play with your friends, you must have both the game and the dedicated server app installed.


 Hosting a server requires several setup steps, including configuring your router, Windows Firewall, and server settings.
Please note that ALL steps are required to ensure your server is properly configured.
Getting Public IP and Private IP Information
In order to set up a dedicated server and play with friends, you must have both your public IP and private IP information.
- Public IP address: Use sites like https://icanhazip.com/, which shows your public IP on the browser
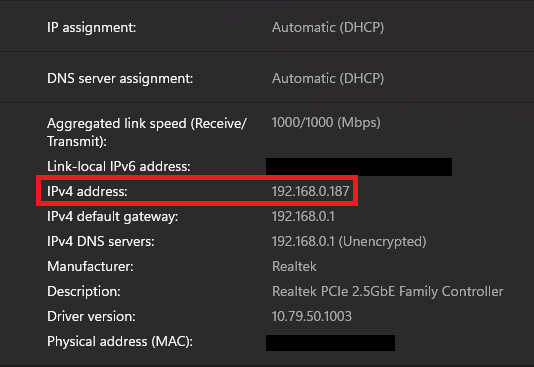
- Private IP address: Find IPv4 address value:
- Open Settings and go to Network & Internet
- Select Wi-Fi or Ethernet (depending on your connection).
- Copy the IPv4 Address value


Router Settings
To allow other players to connect to your server over the internet, you must configure port forwarding rules on your router. This is usually done through the router’s administration or management page. This process can differ based on your router’s manufacturer and model, so please refer to your router’s specific instructions for port forwarding steps.
You will need to configure the following:
Game Connection Port (required): This port allows players to connect directly to your server when you share your IP
- Service Name: Give this an identifiable name
- Port: 7777
- Internal IP: Copy-paste your internal IPv4 address
Steam Server Ports (for in-game lobby visibility): These are additional ports used for Steam server discovery. If you want your server to appear in the game’s lobby list for anyone to join, create an additional port forwarding rule.
- Service Name: Give this an identifiable name
- Port: 27015–27016
- Internal IP: Copy-paste your internal IPv4 address
Windows Firewall Settings
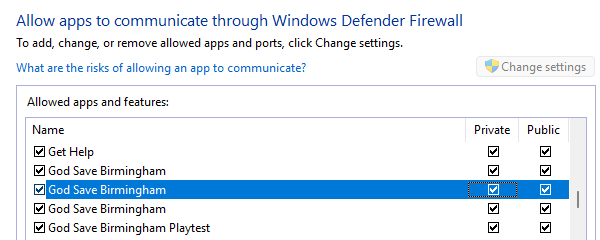
On the computer hosting the server, make sure both the game app and the dedicated server apps are allowed through Windows Defender Firewall.
If you did not allow upon initial launch, you can configure it manually:
- Open Windows Defender Firewall
- Select Allow an app or feature through Windows Defender Firewall
- Locate the game and the dedicated server apps
- Ensure both are allowed through the firewall


Server Configuration File Settings
You can customize your server’s name, description, and password by editing its configuration file.
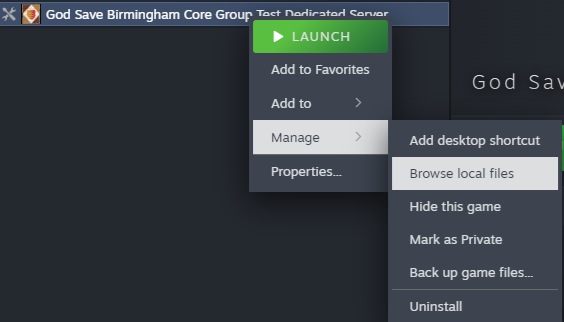
- On Steam, right-click the server app, click Manage, then Browse local files


- In the Explorer window, navigate through these folders: MZClient → Saved → Config


- Open the serverconfig.json file using Notepad or other text editor programs. You can also refer to the serverconfig_sample.json file for explanations of the available options.
- Change the following fields to make it your own. Make sure you are not accidentally deleting any quotation marks.
- name – Your server’s name
- description – A short description of your server
- password – Password required to join




Please note: co-op is still in alpha state and not all config options are fully functional. Only the above three are guaranteed to work.
Using the Dedicated Server App
Once you have completed the configuration, you are ready to launch the dedicated server. Launch the God Save Birmingham Core Group Test Dedicated Server app.
Two console windows will open:
- Steam Server: Shows the app ID text. This is the actual server.
- MZ Server Console: This is for managing the server.

 Use the MZ Server Console to run basic server management functions. Refer to the command list shown in the console and type out the appropriate command.

 Saving Your Progress
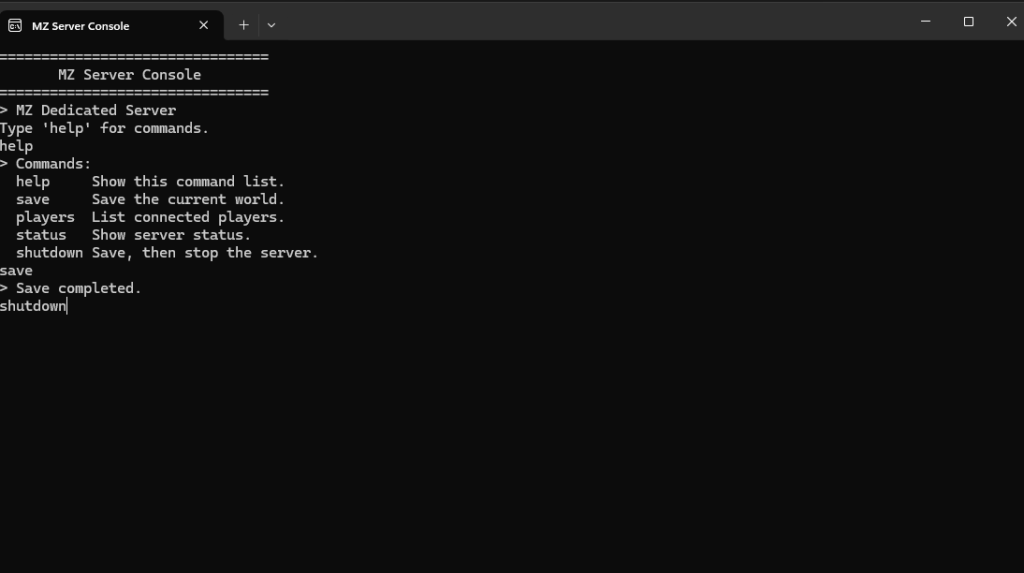
There are three ways to save your server’s progress
- Use the “save” command
- Use the “shutdown” command
- Have all players sleep in-game
To avoid losing gameplay progress, we strongly recommend saving regularly..
Use the “shutdown” command when closing the server rather than simply closing the console windows.
Shutting down the server will boot all players out of the game.
Joining Your Own Server
After you set up a dedicated server, you also need to join it in order to play with friends.
Using the Lobby List
If you set up forwarding for the Steam ports on your router, your server will show up in the lobby list. You can join from there.
Using Your IP Address
You can also use direct connection. One thing to note: since you are on the same network (and/or computer) as the server, you use your private IP, instead of your public IP.

